
The complete guide
Seed starter containers: your guide to growing healthy seedlings
Have you watched carefully planted seeds fail to sprout and wondered what went wrong? Or started plants in whatever containers were around the house and ended up with weak, spindly seedlings? Successful seed starting is not about luck. It is about giving seeds the right conditions from day one, and that starts with a container made for the job.
Seeds need steady moisture, the right warmth, fresh air and protection from sudden temperature changes. Jars and cups can hold soil, but they do not control those conditions the way seedling grow trays can. This guide covers what makes a good plant starter tray and how to use one, whether you are growing vegetables, flowers or herbs.
What makes a good seed starter container
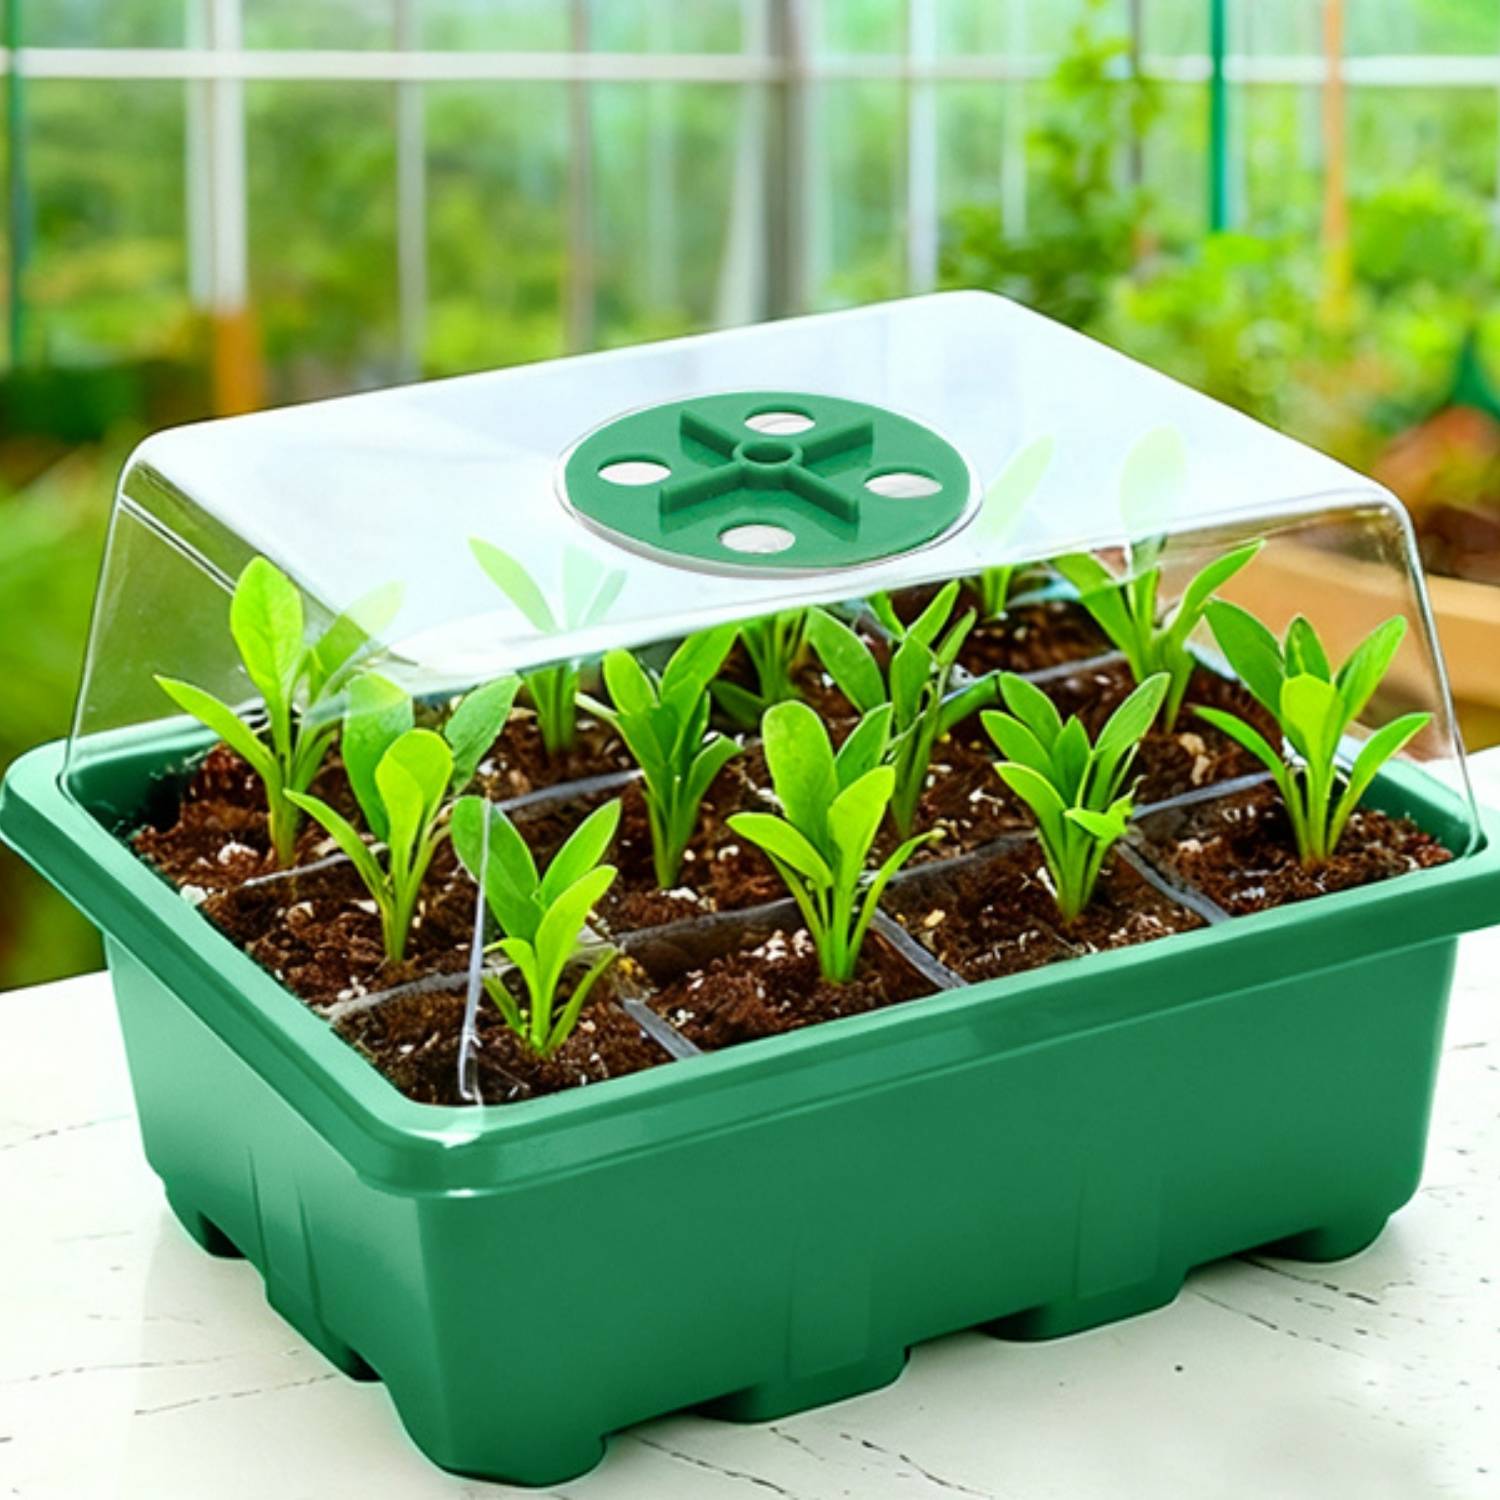
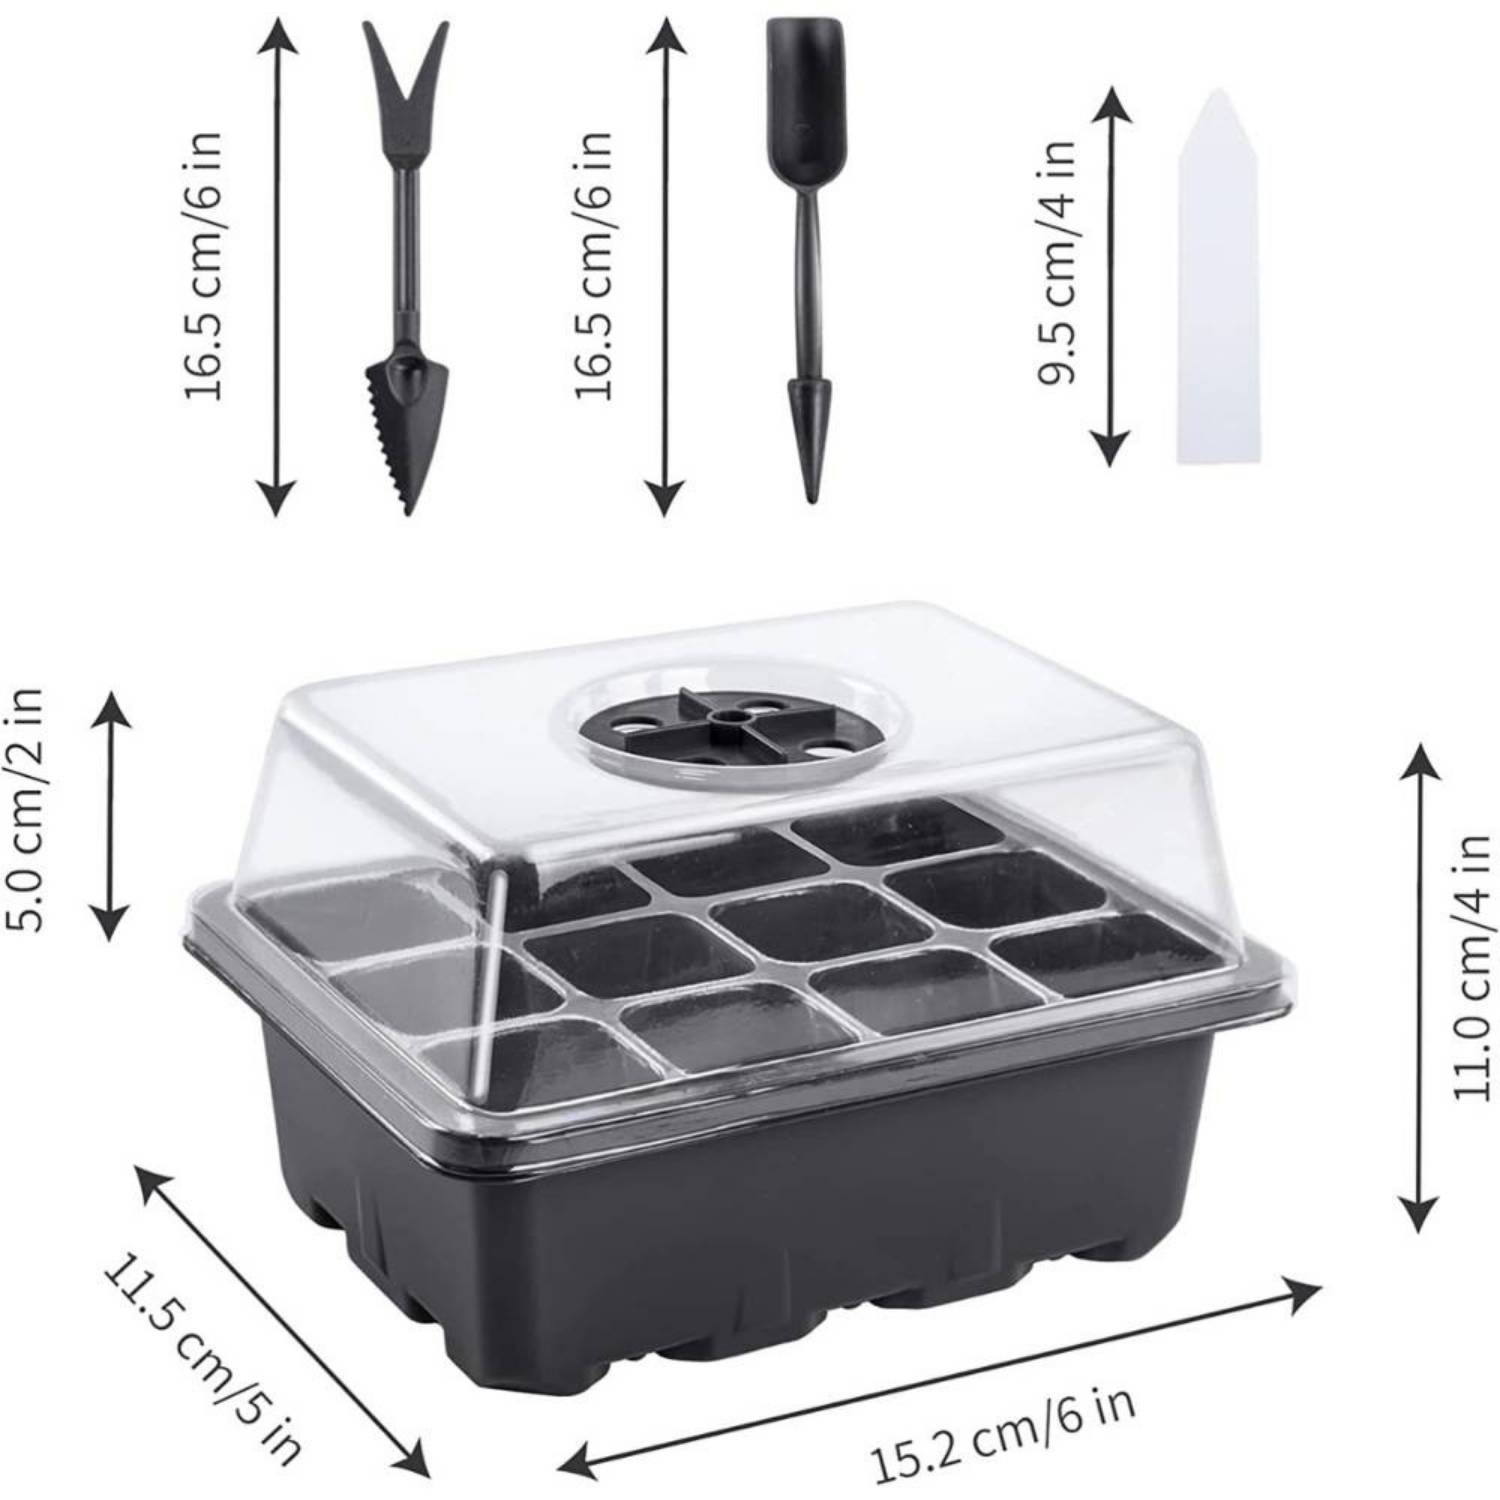
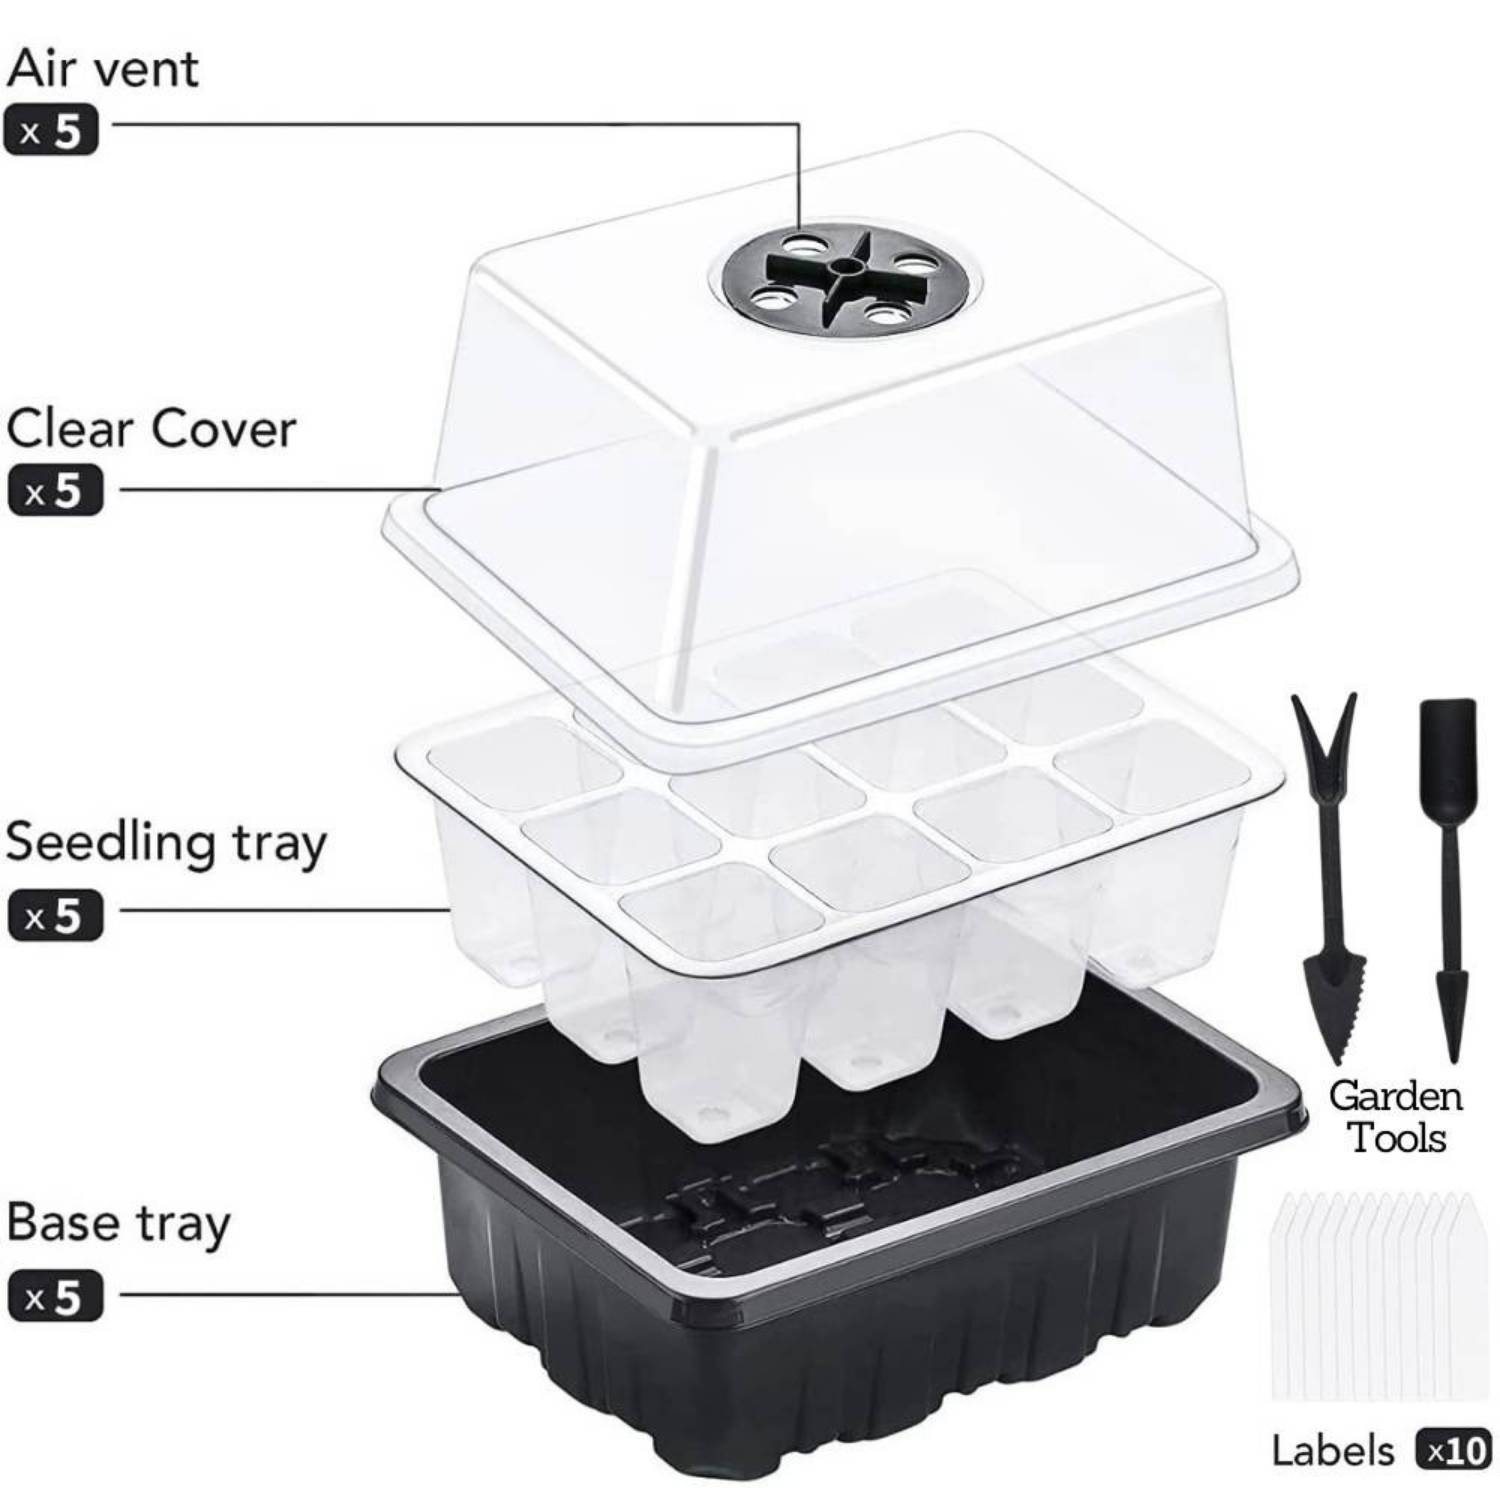
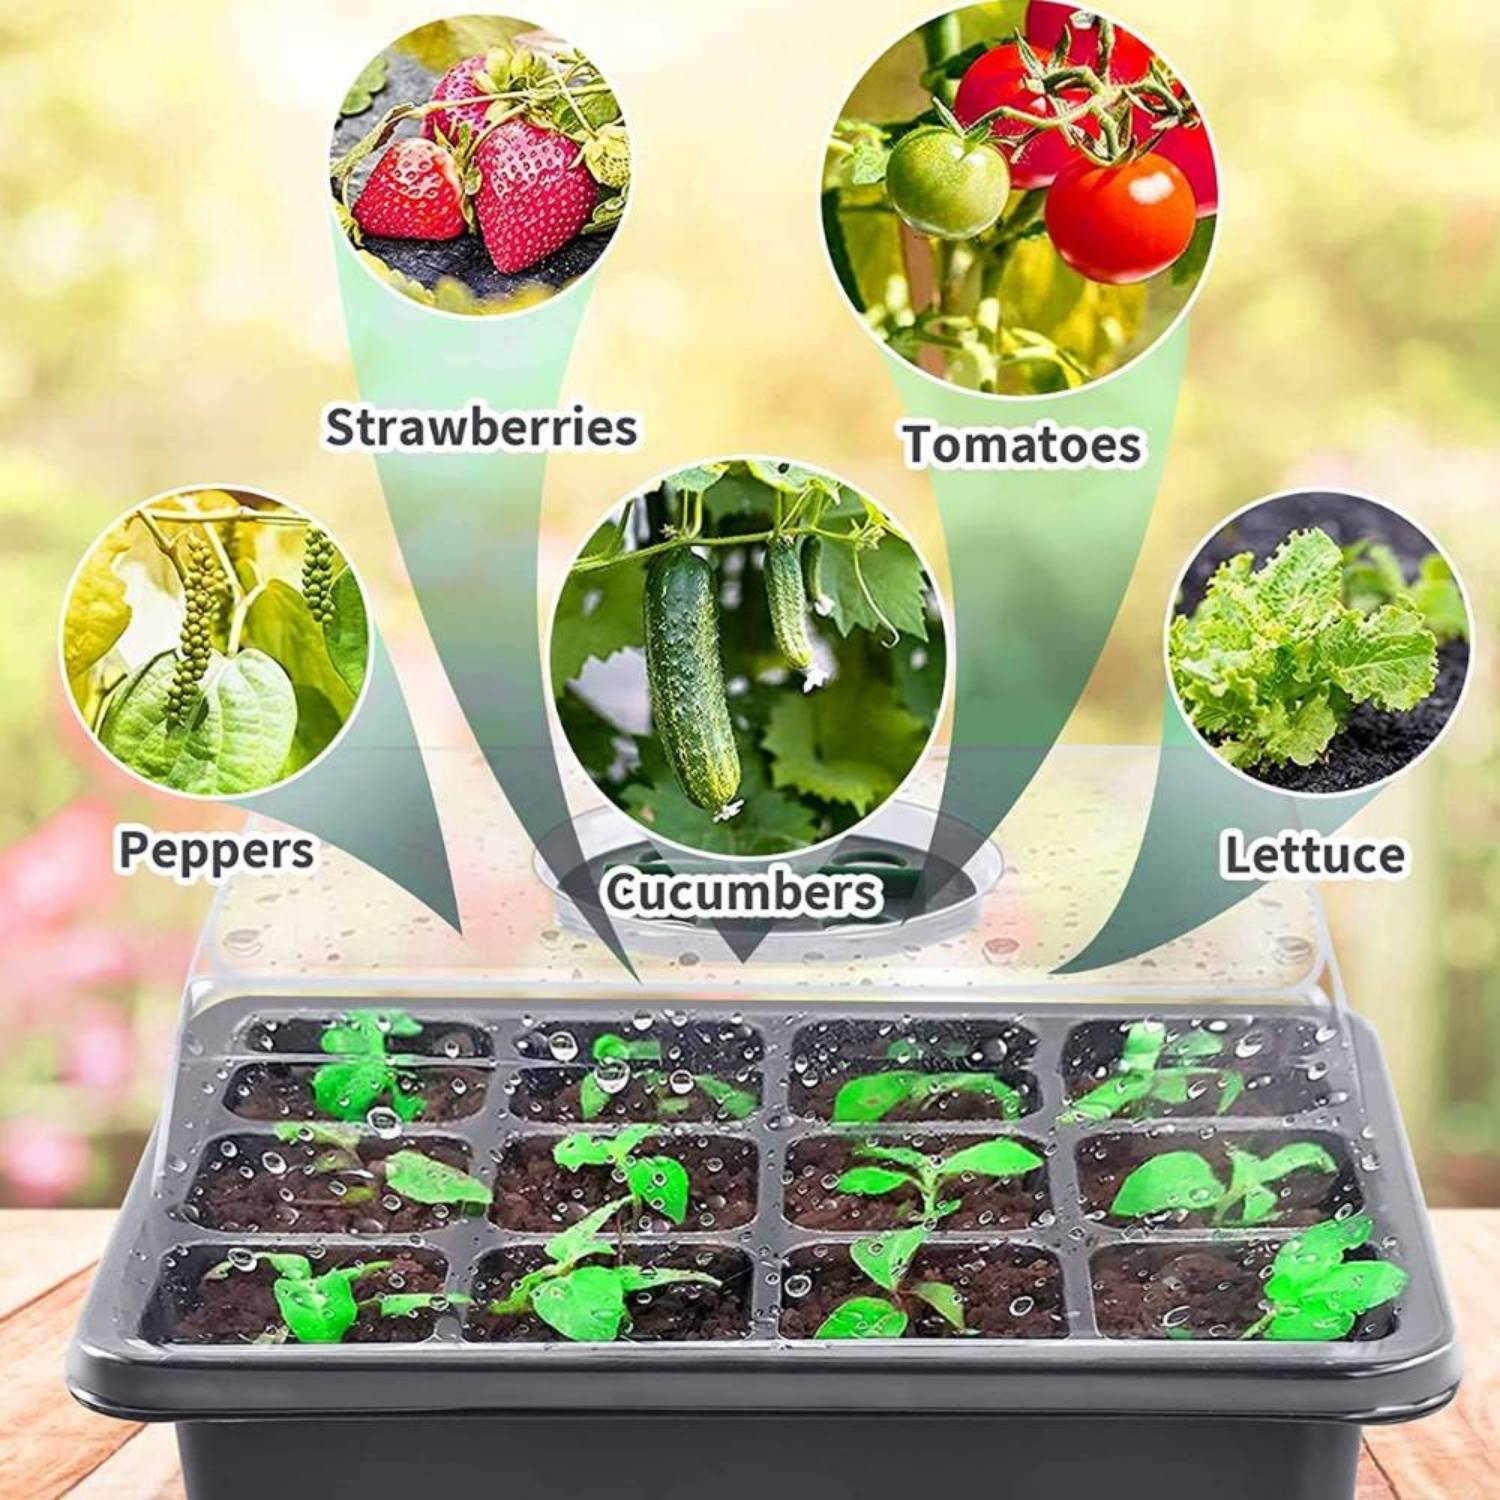
A proper plant starter tray has three parts that work together: separate cells that keep each plant apart, a sturdy base that catches drainage, and a clear cover that holds in humidity.
That design matches what seeds need. They want moisture without being waterlogged, warmth without overheating, and air without drying out. A coffee cup can hold a growing mix, but it cannot manage all of those at once.
What happens when a seed germinates
When a dormant seed absorbs water, its coat softens and the embryo starts turning stored food into new growth. Temperature sets the pace: too cold and germination stalls, too hot and it can fail. Moisture has to stay steady, because a seed that dries out after it starts to grow usually dies, while a waterlogged mix keeps oxygen away from new roots. Some seeds need light to germinate and others need darkness, so check the packet.
A covered seedling tray keeps those conditions steady. The dome traps moisture so you water less often, and separate cells stop roots tangling, which makes transplanting easier on young plants.
Features to look for
A humidity dome
The clear dome keeps a humid pocket of air over the tray. Moisture that evaporates from the mix stays inside, so the surface does not swing between wet and dry through the day. The clear plastic lets light through while softening strong direct sun.
Drainage in every cell
Drainage holes at the bottom of each cell let excess water escape. Seeds and seedlings need both moisture and air, and a mix that stays soaked can rot seeds or lead to damping off. The base tray catches the drainage and protects your bench or windowsill.
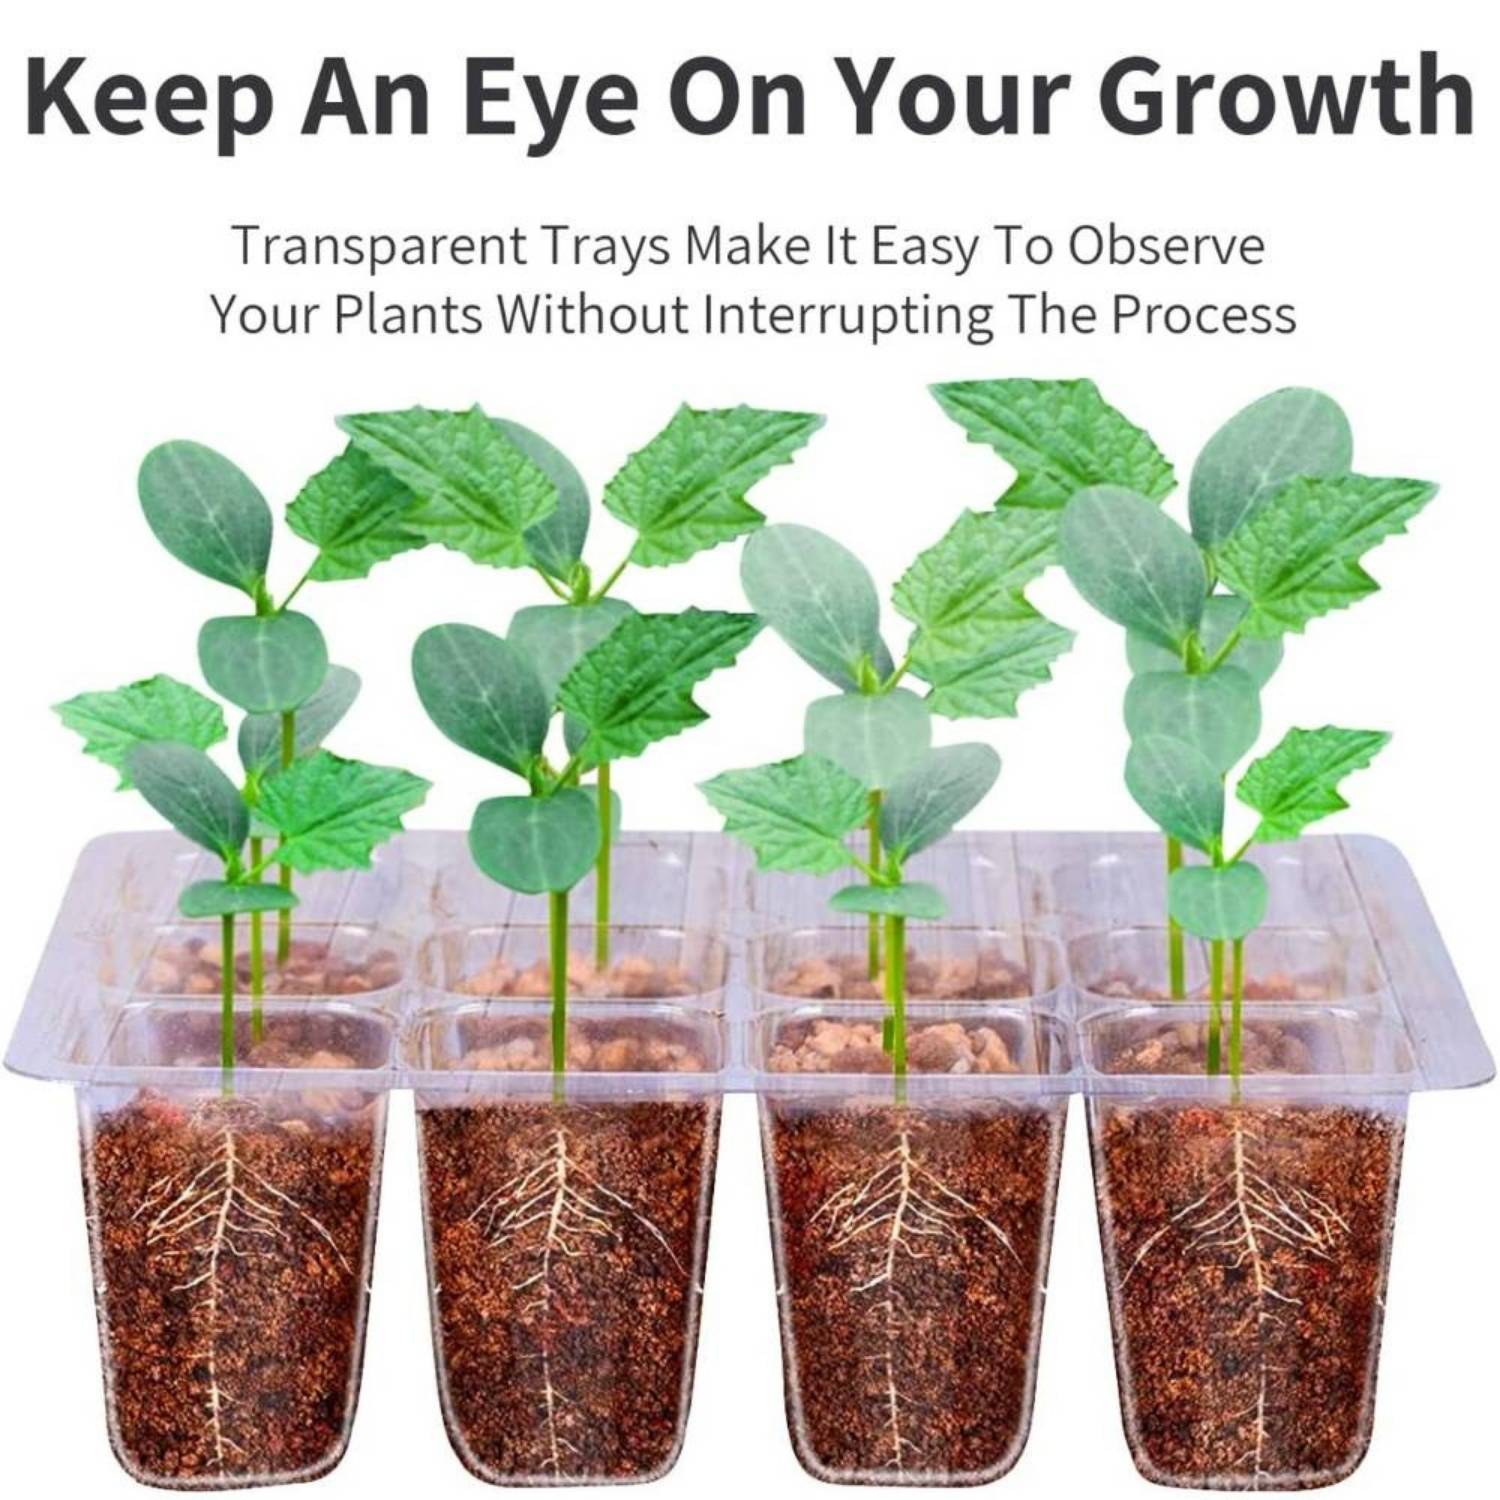
Separate cells
Separate cells keep strong seedlings from crowding weaker ones and stop roots from knotting together. At transplant time you lift each root ball out whole, so plants settle into their new spot with less disturbance.
Sturdy, reusable plastic
Thin, brittle trays crack with handling and can warp. Sturdier plastic holds its shape when the cells are full of wet mix and can be washed and reused. Rigid trays are also easier to move without spilling.
Seeds that do well in starter trays
Vegetables
Starting vegetables indoors lets you plant out established seedlings instead of waiting for the soil to warm. Warm season crops like tomatoes, peppers and eggplants are usually started six to eight weeks before the last frost date. Cool season crops such as broccoli, cabbage and cauliflower can be started in late winter and planted out in early spring.
Flowers
One packet of zinnias or marigolds can fill a border when started in trays. Very fine seeds such as petunias, begonias and impatiens are easier to manage indoors, where they will not wash away or dry out.
Herbs
Basil, cilantro and parsley grow well from seed. Slower perennial herbs like oregano, thyme and sage can also start in trays before moving to bigger pots.
How to use seedling grow trays
Choose the right growing mix
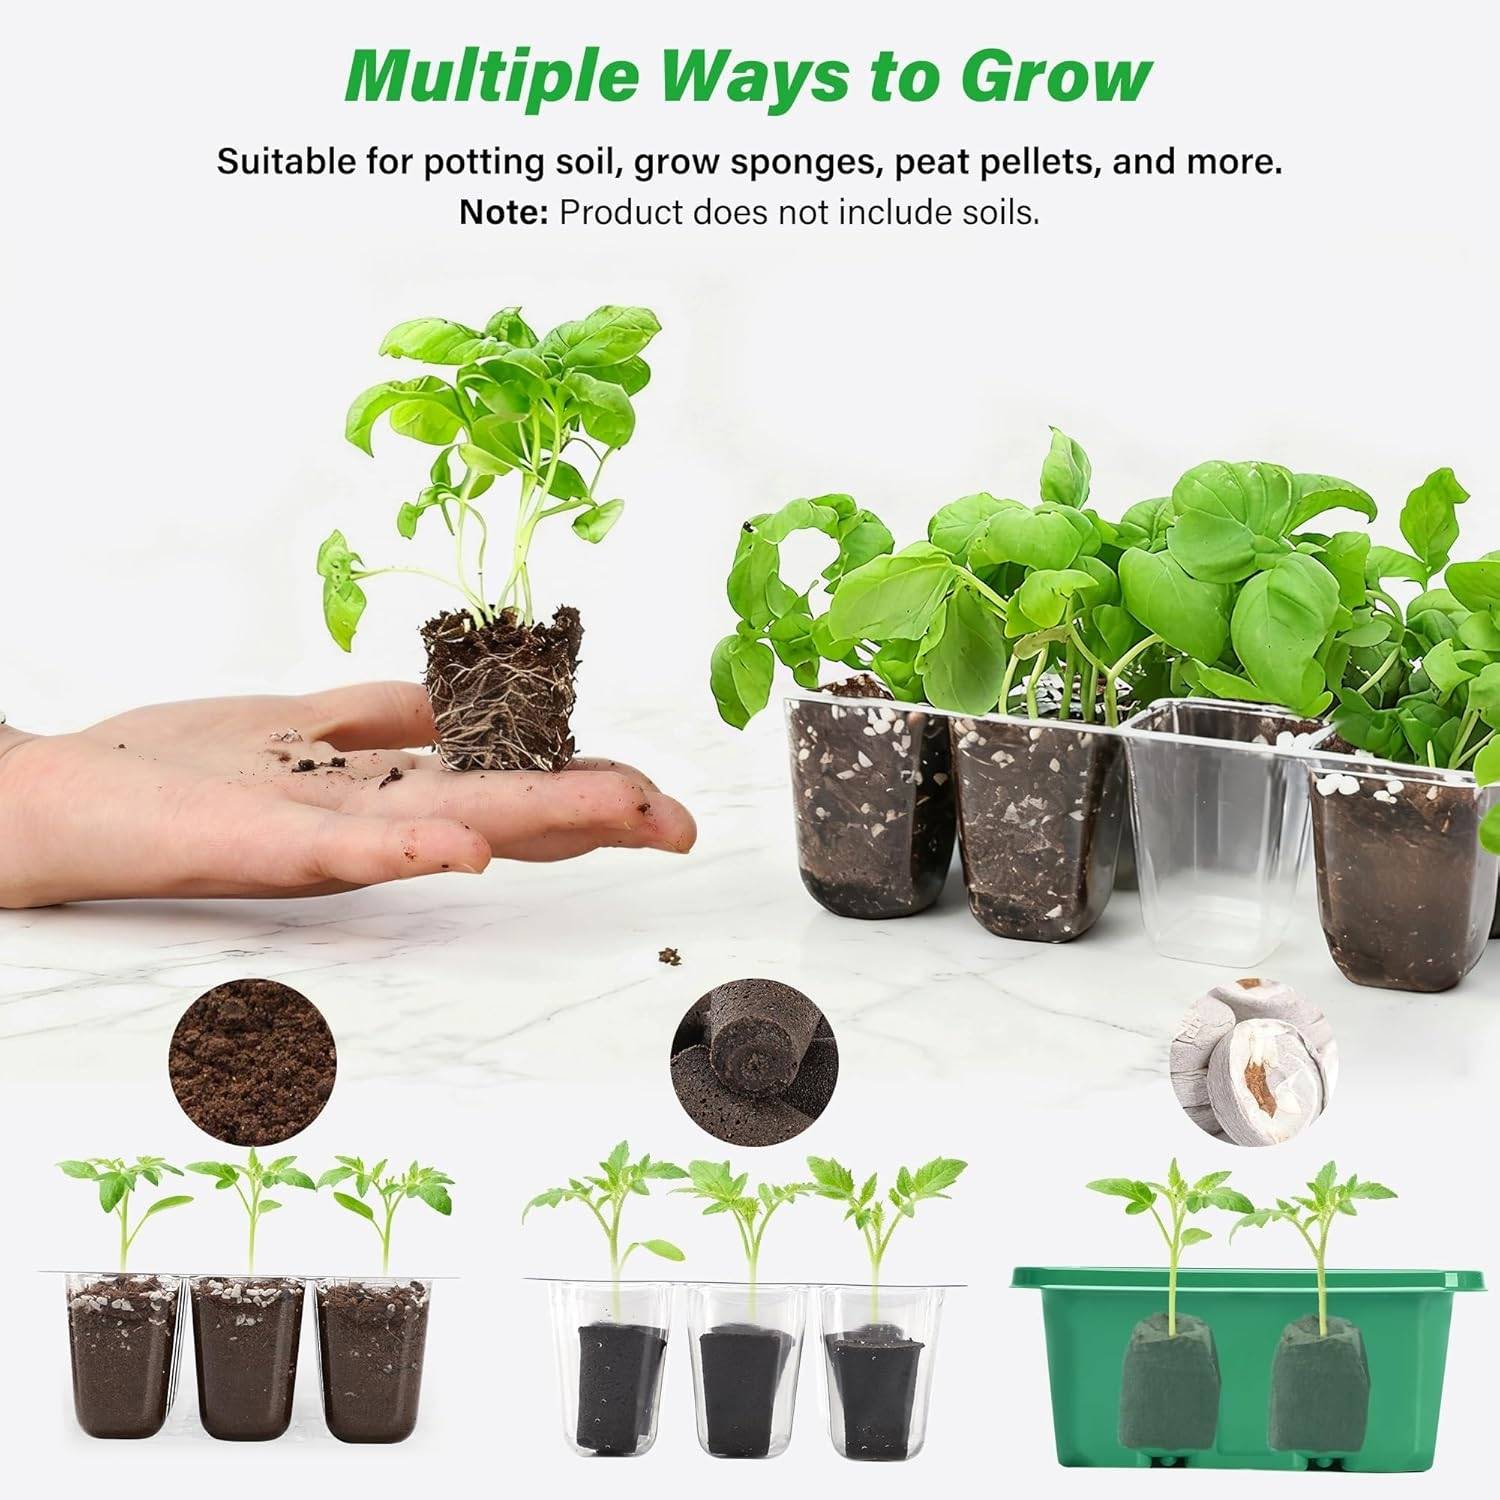
Garden soil is the wrong choice for seed starting. It can carry weed seeds and disease, and it packs down in small cells. A sterile seed starting mix, usually peat or coconut coir with vermiculite and perlite, holds moisture, drains well and stays loose for new roots.
Pre-moisten the mix
Dry seed starting mix repels water at first. Mix it in a bucket with warm water until it feels like a wrung-out sponge: damp all through but not dripping. It will then fill the cells easily and give seeds moisture straight away.
Fill and sow
Fill each cell nearly to the top, pressing gently to remove big air pockets without packing it hard. Make a small hole with your finger or one of the included tools. As a rule, sow seeds at a depth of two to three times their width: tiny seeds like lettuce barely go under, while beans and squash go deeper. Sowing one or two seeds per cell gives you a backup; if both come up, snip the weaker one.
Set up for germination
Put the clear cover on and place the tray somewhere with the right temperature for your seeds. Most vegetable and flower seeds germinate well at 18 to 24 degrees C (65 to 75 degrees F). A heat mat can help in a cool room.
Keep an eye on moisture
The dome means less watering, but check daily. Lift the cover to look and to let in some fresh air. If the surface is drying, mist it or pour water into the base tray so the mix soaks it up from below. Bottom watering is gentler on small seeds than pouring from above.
Looking after seedlings
Light
Seedlings need much more light than seeds. Without it they stretch and grow tall and weak. A windowsill is often not bright enough, especially in winter, so many growers hang a grow light a few centimetres above the seedlings and run it 14 to 16 hours a day, raising it as they grow.
Air and temperature
Once seedlings are up, open the vent and then take the cover off. Most seedlings like it a little cooler after germination. A small fan on low gives gentle air movement, which strengthens stems and lowers the risk of damping off.
Feeding
Seed starting mix has little or no food in it. When seedlings grow their first true leaves (the pair after the seed leaves), start feeding with a liquid fertiliser at quarter strength each week or half strength every two weeks.
Solving common problems
Poor or patchy germination
Old seed loses viability, so check the date on the packet. Temperature matters too: seeds sown too cold may sit and rot, and too much heat can stop them. Sowing too deep uses up the seed's energy before it reaches the surface, and sowing too shallow can let it dry out.
Damping off
Damping off is a fungal problem that makes seedlings suddenly collapse. It likes wet, still air. Use sterile mix, keep air moving, avoid overwatering and take the dome off once seedlings are up. Remove any affected seedlings straight away.
Leggy seedlings
Tall, thin seedlings are short of light. Move the light closer. If they are already stretched, you can often save them by planting them a little deeper than they grew in the cell.
Moving seedlings to the garden
Harden them off
Seedlings raised indoors need to get used to the outdoors gradually. About a week before planting, put the trays outside in a sheltered spot for an hour or two, then leave them out a little longer each day with more sun and wind.
Transplant
Water the trays a few hours beforehand so the root balls hold together. Dig the planting holes first, then push each seedling up from the drainage hole or ease it out with a tool and plant it at the same depth it grew. Tomatoes are an exception and can go deeper.
Aftercare
Water in well to settle the soil, give a little shade for the first few days if it is very sunny, and keep the soil moist until you see new growth.
Cleaning and storing your trays
After transplanting, empty the trays and scrub them with warm soapy water, clearing the drainage holes. For extra hygiene, soak them for ten minutes in one part household bleach to nine parts water, then rinse very well and dry. Store them stacked carefully, out of direct sun, with the domes nested loosely so the clear plastic does not scratch.
Is a seed starter container right for you?
If you start seeds every year, reusable trays are worth having: they make germination more predictable and transplanting easier. They also help if you want varieties you cannot buy as seedlings, or simply want lots of plants for the cost of a packet of seeds. Give your seeds a good start and your garden gets off to a good start too.